Table of Contents
Cubieboard Android 4.0.x Release
Abstract
In this article we are going through the steps of installing (re-installing) the Android image (LiveSuit type) onto the Cubieboard. The Cubieboard comes with 4GB of internal storage memory (called NAND), where you can install an operating system like Android or GNU/Linux.
You need this guide if you want to upgrade the Android on your Cubieboard to the latest version. You also need this guide if you want to re-install Android on the Cubieboard NAND memory, if you had replaced Android with a GNU/Linux distribution (in the NAND memory).
Prerequisites
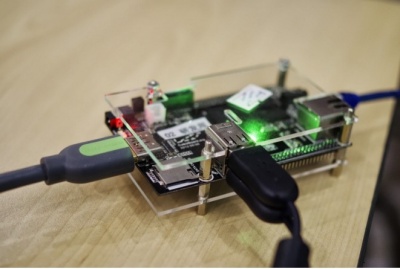
Prepare A Mini USB Cable
Installing Livesuit Program
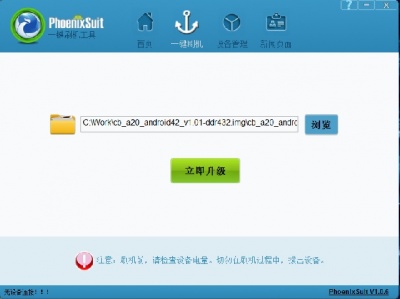
Please see the README.pdf in the above archives, if any. A Livesuit for Window8(64bit) screenshot is shown below
Getting the Prebuilt Images
Android TV 1.0
| download | Features |
|---|---|
| click here | 1. Supports the USB RTL8192WIFI chipset for WiFi. |
| 2. This is the original Android TV Image for Cubieboard. | |
| 3. We suggest to use instead a newer version shown below. | |
| It is listed here for historical purposes. |
Android TV 2.2 (8188eu)
| download | Features |
|---|---|
| click here | 1. Supports the RTL8188EU WiFi chipset |
| 2. With XBMC integrated (Media Centre Software) | |
| 3. Defaults to HDMI output | |
| Other information | 1. The source code can be found at here |
| 2. For instructions on how to download and build yourself this Android image,please see here | |
| 3. No further newer Android firmware is planned to be released, |
Android TV 2.2 (8192cu WiFi chipset)
| download | Features |
|---|---|
| click here | 1. Supports the RTL8192CU WiFi chipset |
| 2. With XBMC integrated (Media Centre Software) | |
| 3. Defaults to HDMI output | |
| Other information | 1. The source code can be found at here |
| 2. For instructions on how to download and build yourself this Android image. | |
| please see here |
Starting the Installation
Start Livesuit, and select an appropriave LiveSuit image to write (such as those listed above)
Connect the mini USB cable to your host computer (where LiveSuit is running) DO NOT connect yet the miniUSB cable to your Cubieboard. Make sure no cables are connected yet to the Cubieboard.
Press and hold the FEL key on the Cubieboard. The FEL key is located below the mini USB port of the Cubieboard.
Plug in the mini USB cable to the Cubieboard, and wait about 3 seconds.
Release the FEL key
Livesuit should start writing the image to Cubieboard
Wait until LiveSuit finishes the writing of the image to the Cubieboard.
As soon as LiveSuit finishes the writing of the LiveSuit image to the Cubieboard, you can close the LiveSuit application and restart the Cubieboard. The Cubieboard should boot into the image (for example, Android) that you just installed.


