User Tools
Sidebar
This is an old revision of the document!
Table of Contents
Cb3 A20-android System Boot From Sata
About this Article
- Author: james — james@cubietech.com — 2013/11/04 09:34
- Copyrights: CC Attribution-Share Alike 3.0 Unported
- Contributors: Cubieboard Community : …
Copy the System File
At first , connect Cubietruck by USB ,and open terminal:
$adb shell
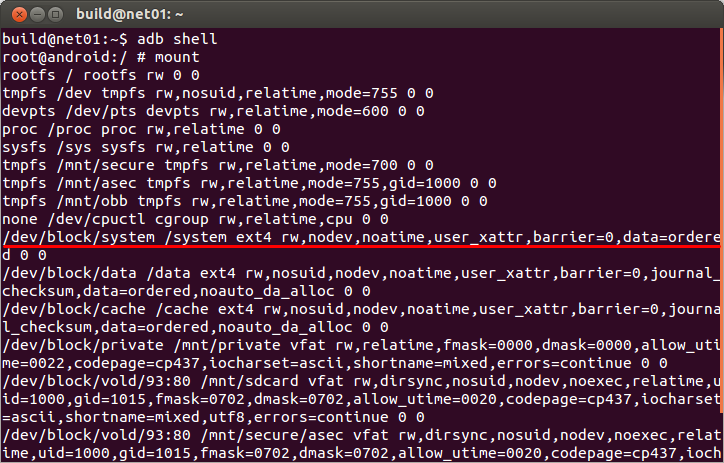
So you will input the Android-Shell Command-Line,and see where the system file mounted:
$mount
You can see the block /dev/block/system mount on /system,
then you connect SATA with Cubietruck,and see what block is the SATA:
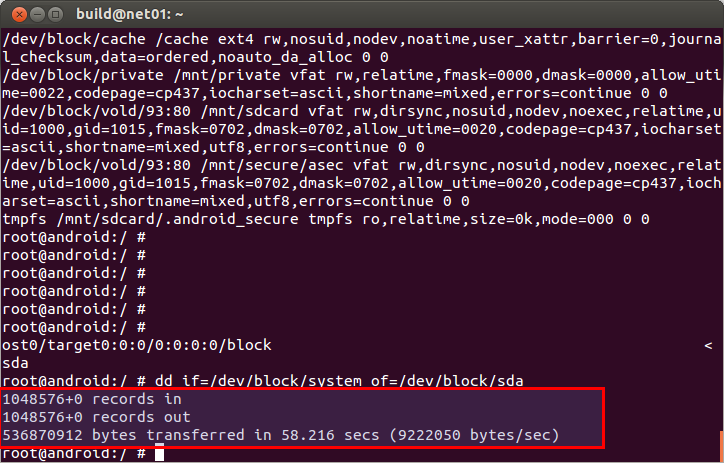
$ls /sys/devices/platform/sw_ahci.0/ata1/host0/target0:0:0/0:0:0:0/block
You will see the SATA block(maybe it's sdb, sdc or sdd,but it's no problem):
Now you know the block,use this command:
$dd if=/dev/block/system of=/dev/block/sda(Your SATA block)
Just wait for about 1 minutes,it will success:
Modify the SDK
After you copy the system file to SATA,you should modify SDK:
  $cd /ct-droid1/android42/devices/softwinner/sugar-cubietruck/ && ls
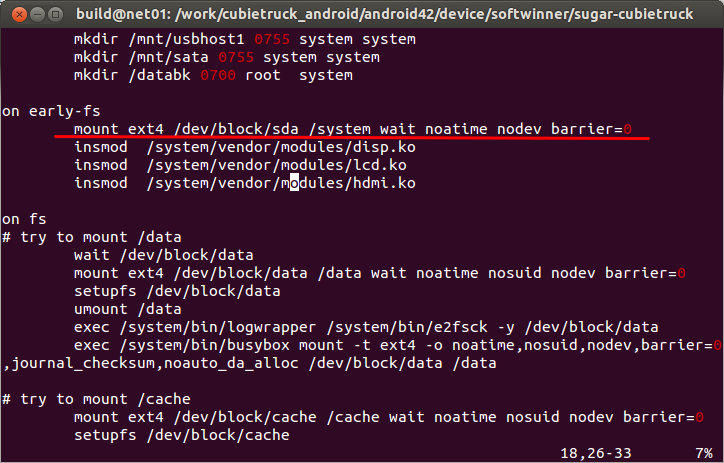
  $vim init.sun7i.rc
And "mount ext4 /dev/block/system" changes to "mount ext4 /dev/block/sda",like that:
Save and quit,complie the android image.If you don't konw how to complie,refer to here
After compile success,do this:
- Install the new image to Cubietruck.
- Connect the SATA first( must first! If you don't do this it wouldn't boot)
- Charge it with electricity,you will see it Boot from SATA.


